

Making colorful web site template
A step by step tutorial about making colorful web template using Adobe Photoshop
Also take a look at other Photoshop tutorials...
Space flight simple | Burning text | Red tissue | Making abstract wallpaper | Understanding Curves |
Pages
On similar way we did before we will add background shape beyond part of content block that is bordered with big rectangle. 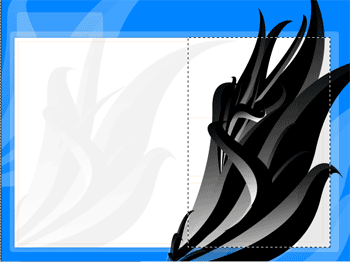
Invert selection and delete rest of shape. Set Layer to 10% opacity. Later I decided to delete part of shape that is over gray part of main content block.
Now we will add some nice flowers photos. To get photos I suggest you these two photostocks: BigStockPhoto and AbsolutVision
If you want to make web template and put it for sale you should use BigStockPhoto because of their license policy. But in case that you want to make web design for single project cheaper solution is to pay one-year fee at Absolut Vision and get right to download 200 hig-res photos per month with 2500px in width and alpha channels and clipping path. Both photo stocks are searchable so you are able to easily find photo to fit your needs.
After you selected photos, resize them and cut to fit 200 x 100 px dimension and insert into this template.
Use Text tool to write company logo. I have written it with Simpsons font available at http://www.1001freefonts.com/ . 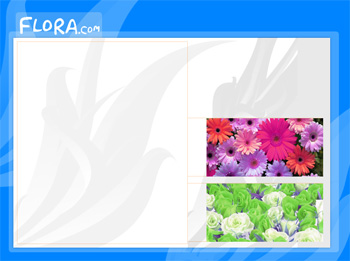
Now we have to create our colorful menu bar. Use Rounded rectangle tool to create manu bar in right of company logo. Rasterize it (because we will make different color fills on it) and set blending options:
Shadow:
Size: 9px
Opacity: 21px
Distance: 0px
Inner glow:
Opacity: 75%
Color: white
Size: 10px
Gradient Overlay:
Opacity: 10%
all other values are default.
Now you have menu bar and we want to divide it in sections that are differently colored. To have idea how to divide on first place create menu text: About us Services Products Contact.
Now use rectangle selection tool over rasterized menu bar layer and select area around About Us item and color it with orange color from our color table. Repeat for other menu items.
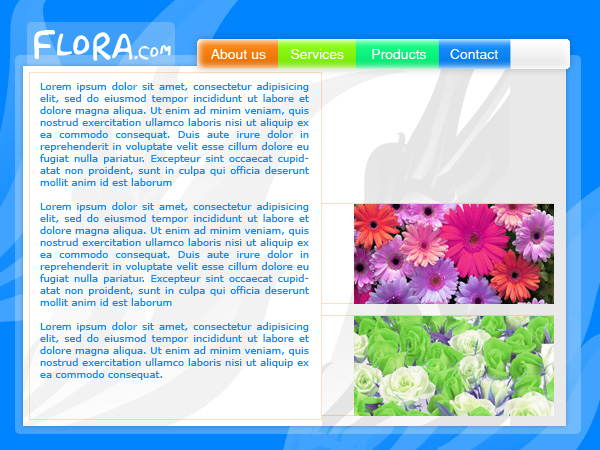
It is good idea to put some Lorem Ispum dummy text just to see now it looks with text added.
To find and learn more about Lorem Ispum dummy texts visit:
http://lipsum.com/
Slicing design and using it in Macromedia Dreamweaver will be explained in tutorials that are coming, but in mean time you can read earlier tutorial about web design where slicing in Adobe ImageReady is explained.
I hope you liked this tutorial and that you will keep coming to our site. Please, don’t hesitate to write me questions or feedback of any kind on forums or via e-mail.
About author: Goran Grubic is skilled print and web designer from Serbia running design portal omnetwork.net (http://www.omnetwork.net/) which offers for free large unique tutorial library (covering Photoshop, Flash, 3D Studio, Dreamweaver and similar topics), free graphic resources (templates, elements, 3D models etc.), photography (free&royalty free, just use it!) and sounds&music loops for multimedia web development.
Pages
Submitted by Martin on 2006-08-01 19:44:09. Since then read 70512 times.
Scored 4.04 points out of maximum 5 by 28 votes.
Also take a look at other Photoshop tutorials...
Night Sky with Stars | Making sepia hue | Blue Matter | Creating a stylish portfolio | Simple plastic button |
Rate this tutorial!
Invite a friend!
Discussion
No contributions yet.
Be the first one to add one!