

Space flight simple
Learn how to make so called transwarp effect or flying trough space effet. easy and fun.
Also take a look at other Photoshop tutorials...
Blue Matter | Post-it-note | Making sepia hue | Glowing magical vector logo | Lightning Effect |
Space flight simple
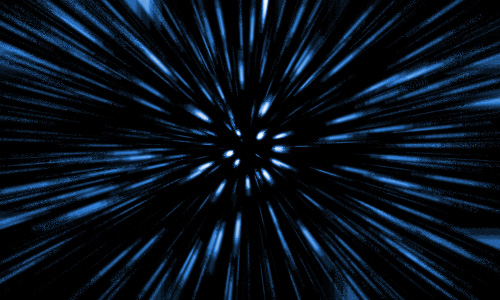
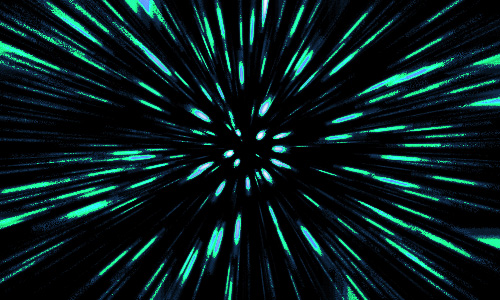
What will be the result of this tutorial?
Well something like this:

And how to get there? Just follow my instructions:
1. Make this black background.

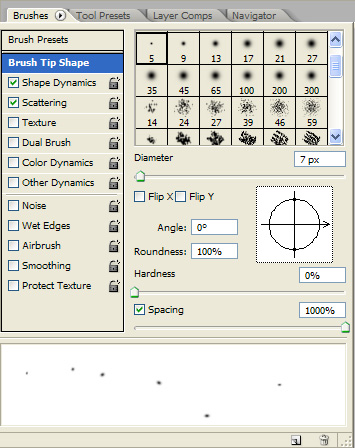
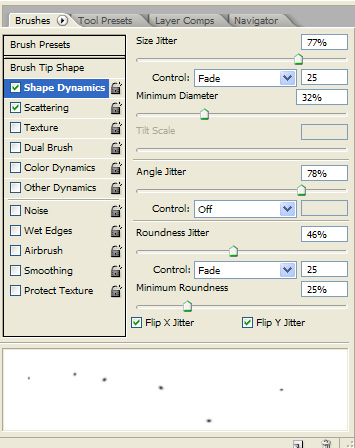
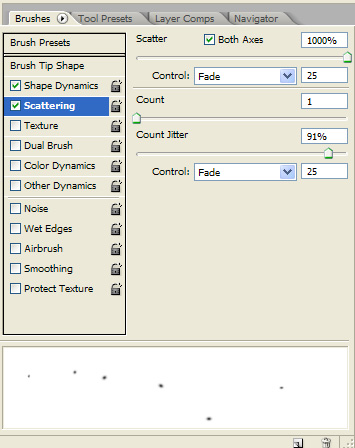
2.Use the Brush tool to make white dots that will resemble static stars.
My Brush settings are here.
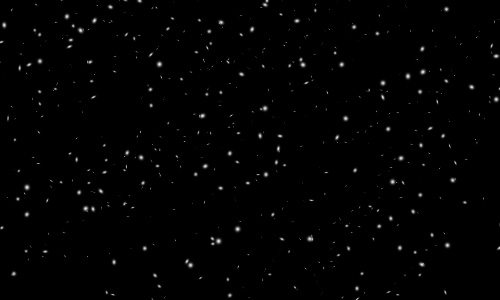
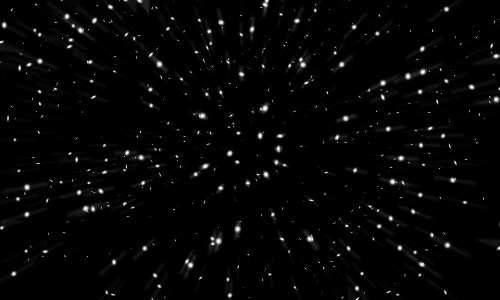
3. Now make a new layer and use the Brush tool to make white stars. It Should give you result similar to this one
4. Now, duplicate the layer two times using the Layer/Duplicate layer or by pressing Ctrl+J.
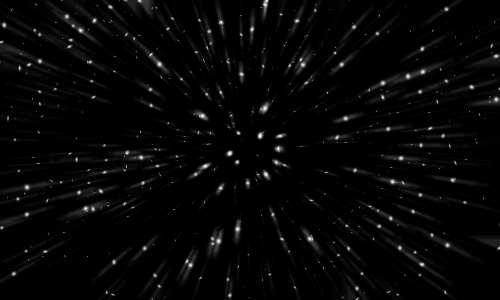
5. Click on the first of the stars layers and use Filter/Blur/Radial Blur with the settings Zoom, Amount 40. Quality matters not here.
We have this thingy.
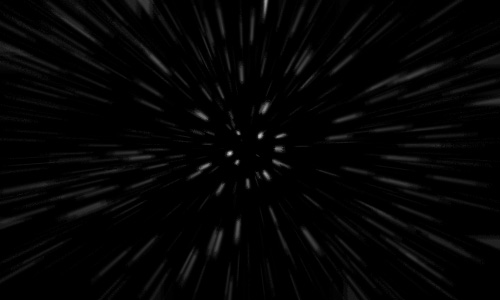
6. Now click on the second star layer and use again the Filter/Blur/Radial blur but with a bit stronger settings, e.g. Zoom 60
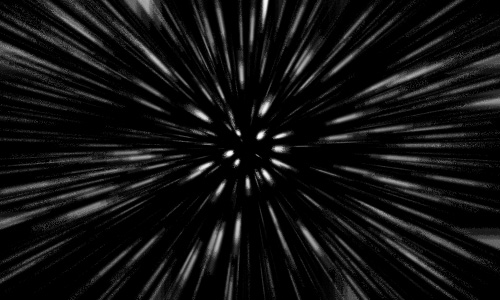
7. Now, use Radial blur also on the third star layer, using the strongest setting (Zoom, full amount). We have this.
if you wonder why didnt we have just a single layer to blur with the strongst blur, check this out. try disabling the other two layers with weaker blurs to see how would it look like. (by disable I mean click on the eye to the left of the layer to hide its contents).
I hope it is now clear that without these other two supporting layers would the third one look pretty pale and weak. allright?
8.
Now, select the three stars layers and merge them together. In Adobe Photoshop CS hold shift and select, then right click and merge layers. In previous versions use the checkbox to select and Layer/Merge layers. I am sorry but I dont remember the older versions that good :D
9. It might be worth checking ... I hope that you have now just two layers. One is the black background and the other one is the stars layer. ok. now, because the stars are still pretty pale, duplicate the layer two times. Should look like this:
10. Now, merge the whole picture. (Layer/Flatten Image). Now, duplicate the one layer you obtained. If it says Background on it, hold alt and click (doubleclick) on it.
SO you have two identical layers, both with black background and stars on it.
11. Grab the bottom layer and go Image/Adjustments/Hue saturation and give it Colorize with Hue 212 and saturation 65. If you disable visibility of the top layer, it will look like this:
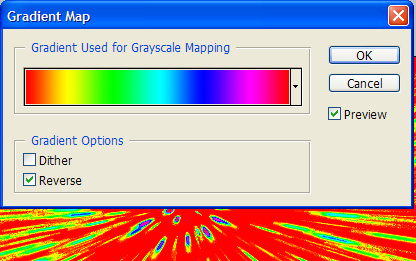
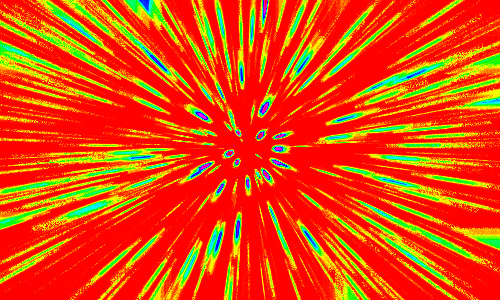
12.Again, enable the top layer that has no colour in it yet and go Image/Adjustments/Gradient Map to assign colours to various level of gray in the layer. It might look a little bit awkward but wait for the final version :)
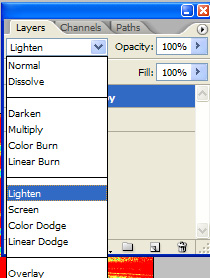
13. Now change the layer mode to Lighten in the menu like in the picture
14. And the penultimate step is to go Image/Adjustments/Channel Mixer and reduce level of red in all three channels (in the red one reduce red to -122, in green channel reduce red to -120 and in the blue channel reduce red to -124)
The outcome is like this:
15. And the final step is to blur the image a little to make it look more homogenous. So go Filter/Blur/Radial blur and give it a little blurrish feeling :) (in my case amount 50)
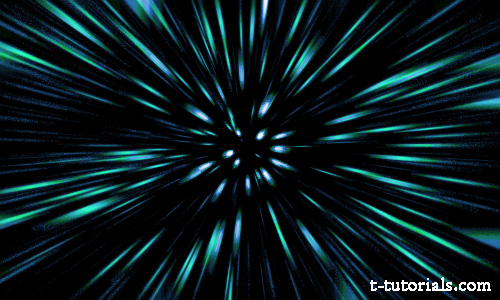
So that is the final one, hope you have enjoyed :) If yes, please vote in the section below, and I would be pleased if you could leave a comment on this tutorial in the section below :D And check other of our tutorials as well
Submitted by Martin on 2007-02-25 16:56:04. Since then read 97882 times.
Scored 3.97 points out of maximum 5 by 66 votes.
Also take a look at other Photoshop tutorials...
Add lightning to your photo | Slim button | Making colorful web site template | Professional Changing of the eye color | Autumn leaves |
Rate this tutorial!
Invite a friend!
Discussion
Beren rulez AT we2rule DOT uw said on 2007-05-11 13:23:04Cool tutorial, bro!! Keep it up!! I love 2 make these star trek ´n star ships tutorial. This one is ok. Cool man!!
mark jojoseeds AT yahoo DOT com said on 2007-05-17 11:08:48
Hi just wanted to know, in step 14 you wrote: 14. And the penultimate step is to go Image/Adjustments/Gradient Mixer and reduce level of red in all three channels (in the red one reduce red to -122, in green channel reduce red to -120 and in the blue channel reduce red to -124) The outcome is like this... instead of "Image/Adjustments/Gradient Mixer", did you mean, "Image/Adjustments/channel mixer?" Never the less, it was an awesome tutorial...Thanks a whole lot.
Mato mato AT t-tutorials DOT com said on 2007-05-18 19:05:33
Hi Mark, thx for commenting on the tutorial, I am glad that you liked it. I also want to thank you for finding an error, that might have discouraged or puzzled some other readers. Thx for finding the mistake, it has been corrected by now.
marcus marcus_8_91 AT yahoo DOT com said on 2007-10-25 01:57:16
i thought the instructions were really good and in all the tutorial came out great