

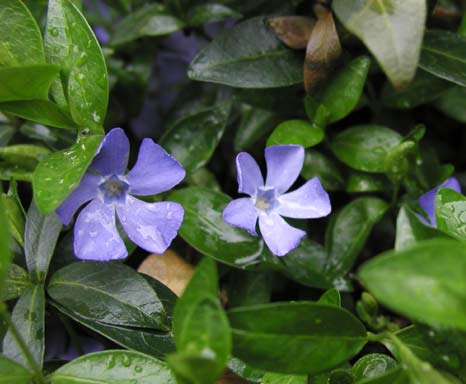
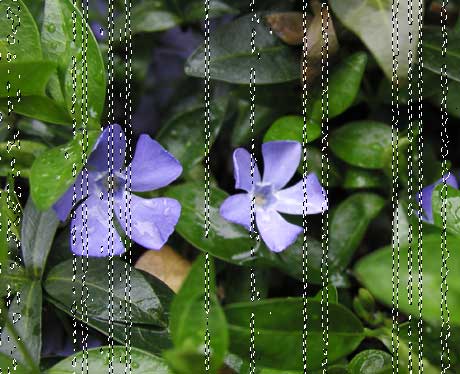
Dewy window
Real looking window covered with waterdrops, with some of them slowly going downwards. Cool.
Also take a look at other Photoshop tutorials...
Tolkiens Master Ring | Making tiles | Tattoo transplantation | All About Adjustment Layers | All about Layer Mask |
Dewy window
The one below is mine, I hope you like it :D
You can easily use it just by draging and dropping it into Photoshop - it will open automatically.
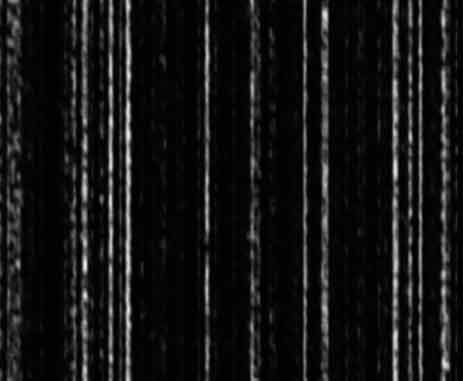
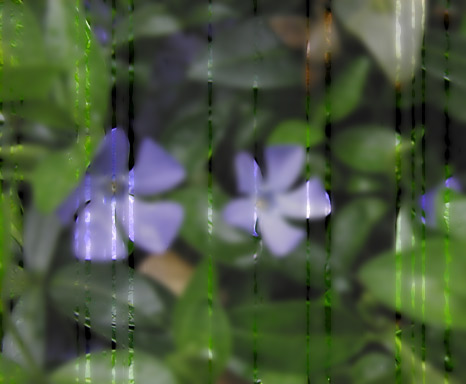
Now, to explainn the procedure a little, we are trying to make a suitable selection that can be blurred to look like wet window. To make such selection, we will use channels because you can work with a selection in channels as with a normal picture, you can distort it or blur it. Simply, channels are used not only to decompose the picture into 3 basic colors, but also to save selections (small rectnagle icon with a circle) and than load them (small icon of a dotted circle).

5. Filter/Artistic/Smudge stick (0, 10, 10)
6. Filter/Blur/Gaussian blur, and blur it a little (radius 1)
and use also Filter/Blur/Motion blur (90, 7)
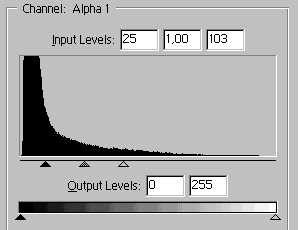
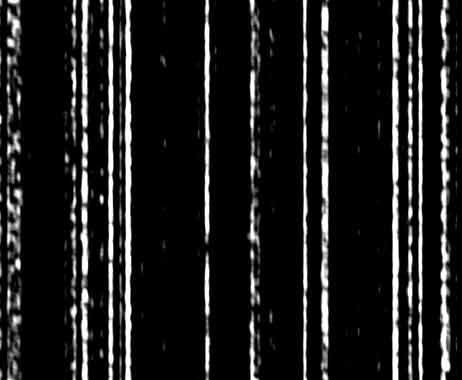
7. Now you need to decide about how many lines will be flowing down the window. Use Image/Adjustments/Levels, move the controls like I did in the picture, or till you are satisfied.
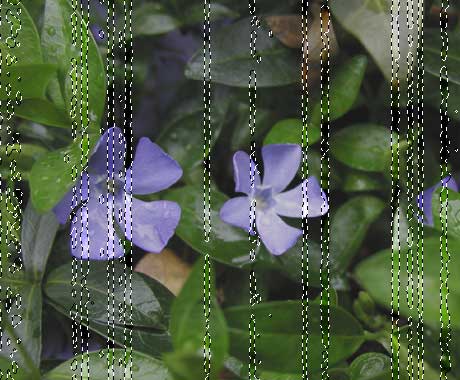
Here it is:
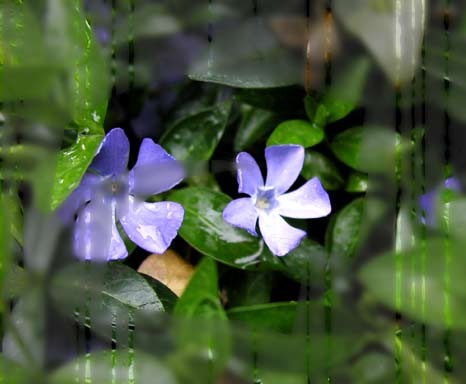
8. That is all about the channel, now we will work with the picture. Click on Alpha 1 channel holding Ctrl to make selection, swich back to the Layers.
9. Go to the layers window and click on the picture layer, use Image/Adjustments/Brightness Contrast and increase the contrast a little (+20), press Shift+Ctrl+I to inverse selection and use the same tool to decrease the contrast slightly (-30).
10. Filters/Blur/Gaussian blur and make it look realistically blurred (I used radius 3).
And if you wished, you could also use some caligraphic brush and paint a white thingy in the channel just after using levels, to cancel the selection it that place and to give the picture the look like one part of it has been cleaned with a hand.
Submitted by Martin on 2006-03-26 18:38:00. Since then read 1865 times.
Scored 4.35 points out of maximum 5 by 100 votes.
Also take a look at other Photoshop tutorials...
Making colorful web site template | Creating a stylish portfolio | Comet or Shooting Star | Learn to use Quick Mask | Red tissue |
Rate this tutorial!
Invite a friend!
Discussion
Beren the lightbringer said on 2006-04-06 16:50:34I like the idea but I think that the picture lacks some genuine waterdrops on the gless in the front. I am not sure myself if I am able to do such a thing, but it would certainly look more cool. but really good anyway.
hacker said on 2006-04-13 10:54:14
i just really like it, it looks so real!
Flippy Flippy_Devinity_18 AT web DOT de said on 2006-04-13 13:58:12
Yeah, it looks realy good :D I hope u make more tutorials like this! ;)
ian said on 2006-04-13 14:07:45
simple, but very effective!
RE:ian deksator89 AT hotmail DOT comkj said on 2006-04-13 18:55:10
RE:ian, hu.. dude thats not SIMPLE! its a nice and creativ effect, not, like you said: SImple, but very effective:s
another reader said on 2006-04-13 22:48:31
wow nice!
Ashar Khan m DOT asharkhan AT gmail DOT com said on 2006-04-14 20:44:53
Hi, Great easy to read tutorial! But, for some reason, when I coose my Alpha Channel onto the layer, it turns red. I can't get rid of it. However, when I choose gaussian blur or any other tool, I see the image crisp and fine. Is it something wrong? I use Photoshop CS2. Best regards, Ashar Khan -------------------------------------------------------------------------------------------------------------------------- Reply by Martin: Well, the thing is that I use PS 7, but what might be the problem is that the Quick Mask was swiched on before you worked in the channel. Then, when you used Ctrl and Click on the channel to select it, the quick mask mode converted the selection to Red and Transparent. This is my explanation, there might be another. If any other problem arises, just ask. mato[at]t-tutorials[dot]com
Sasha said on 2006-04-22 15:03:55
very nice tutorial! AUTHOR MAKE MORE!!!!
Martin mato AT t-tutorials DOT com said on 2006-04-22 20:52:14
I surely will. Now that I know that more people liked it I have decided for sure to make more tutorials like that. I hope they wont be too similar to this one :D
shaunah psychoshaunie24 AT yahoo DOT com said on 2006-04-22 22:09:59
I think it was cool and fun and simple.
yushatak techmaster AT myself DOT com said on 2006-06-17 17:34:28
Simplicity is probably the most important factor when designing a good effect, and this one is simple enough for the outcome! This is getting saved for future reference ^-^.
Jazzie said on 2006-09-14 06:14:20
Sweet!!!!
clarissa clarissa_f_1999 AT yahoo DOT com said on 2007-08-11 00:11:54
Um...yeah, I have CS2 and the steps 8 and 9 are not getting the result, I made the Alpha 1 channel but when I apply it to the image layer it's the whole channel not just the selection to make the dew. What's up?
amber ranny_mae AT yahoo DOT com said on 2010-06-22 06:31:34
im confused with the alpha 1 channel..wer would i find it?
nikezoom nikezoom AT gmail DOT com said on 2011-05-07 10:54:33
This article is very good, I like it very much, and I also like Nike outlet sports series, hope we can share the fun of Nike zoom.thank you.